
1. Press the power button. The processor will show an LED of some color and flashing pattern inside the lower housing (look in past the hole for the USB connector.
2. Plug the instrument into your computer. It should show up as an external drive named CIRCUITPY
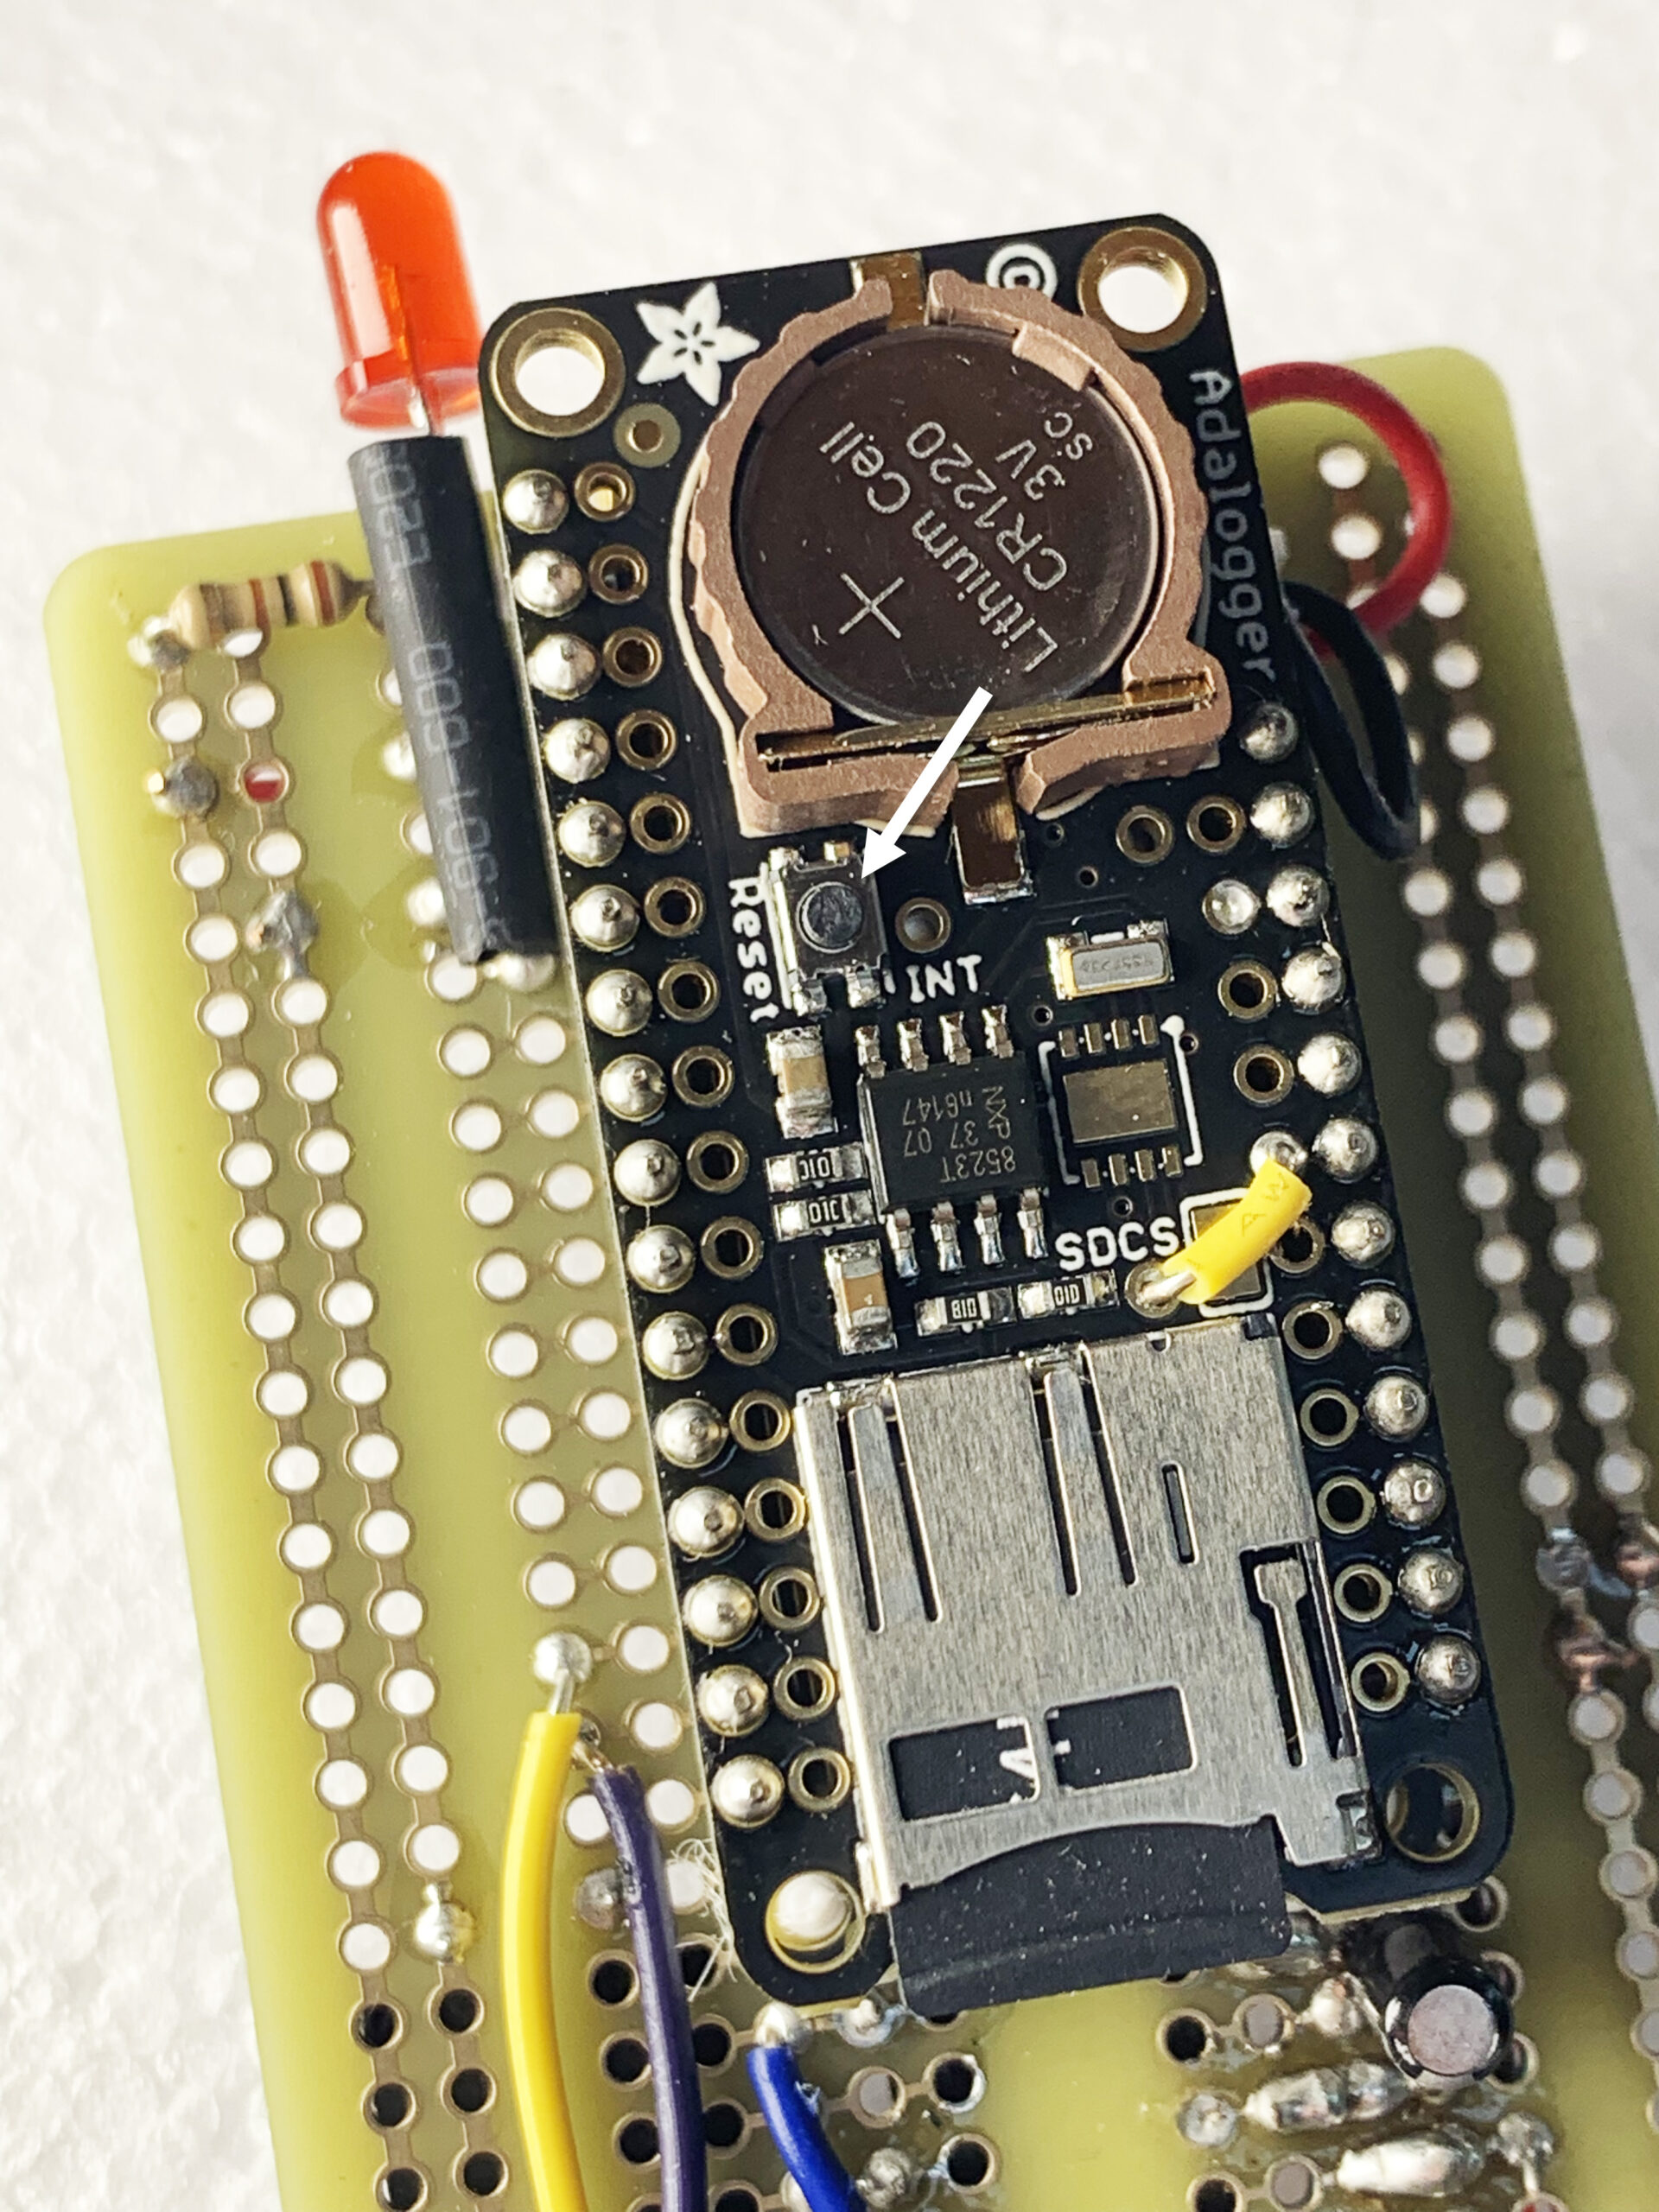
3. On the adalogger there’s a reset button. Click that twice. It’s a bit timing sensitive, so you might have to try this more than once. When you are successful, the CIRCUITPY drive should eject, and be replaced by FEATHERBOOT.
4. Download the .ZIP file. link to file .replace “In the repository” with “In the software download”… Remove “It’s the only file in that folder.”
5. In the software download, in the filed named code-and-libraries, there is a file folder named lib….copy… If there is already a lib folder, go ahead and replace it with this one.
6. In the downloaded software, in the filed named code-and-libraries, there is a file named code.py.
7. Go to the webpage codewith.mu and download the Mu Editor.
8. Install and run the Mu Editor
9. Click on the Serial button in Mu, to look at the output of the STELLA instrument. If you click in the serial dialogue panel, ctrl-c will cancel the program, stopping it from running, and ctrl-d will decancel, restarting the program. You’ll see error messages in this panel that we will need for debugging.
10. If it’s all working correctly, that’s super! The clock still needs to be set, just once for as long as the clock battery lasts. It should be set to UTC, universal coordinated time, which you can get here: https://time.is/UTC
In the repository, in the folder titled test_codes, there is a folder titled real_time_clock. From that folder, copy code.py to the CIRCUITPY drive. It will run the real time clock read and set program. In the Mu editor, click the Load button to load the program.
The first if False: statement contains a place to set the clock. Set it to True, change the date, time, and day in the t = time.struct…. line, and then run the program to set the clock. Change it back to False, and re-run the program to confirm the time is set properly.
11. Then copy the instrument code to the instrument again, exactly as you did in Step 5.
At this point, it will either be working, or there will be some trouble in the wiring or the components. Look around in test_codes.
